I promised more rocks. So here they are. This is my first time making rock formations and came up with an easy answer to simply using styrofoam. I used the densest heaviest stuff I could and then just slathered on the spackle.
As you can see, the archway, a prominent feature has subtle bat outlines. throughout.
This stuff is tough. They feel hard and heavy as real rocks now. And that is key. Weight will be holding a lot of this set together as this is a dry fit.
And as I move out from the door, I realize that the graduated relief was going to be claustrophobic.
Quick run to Kinko's or whatever they're called!
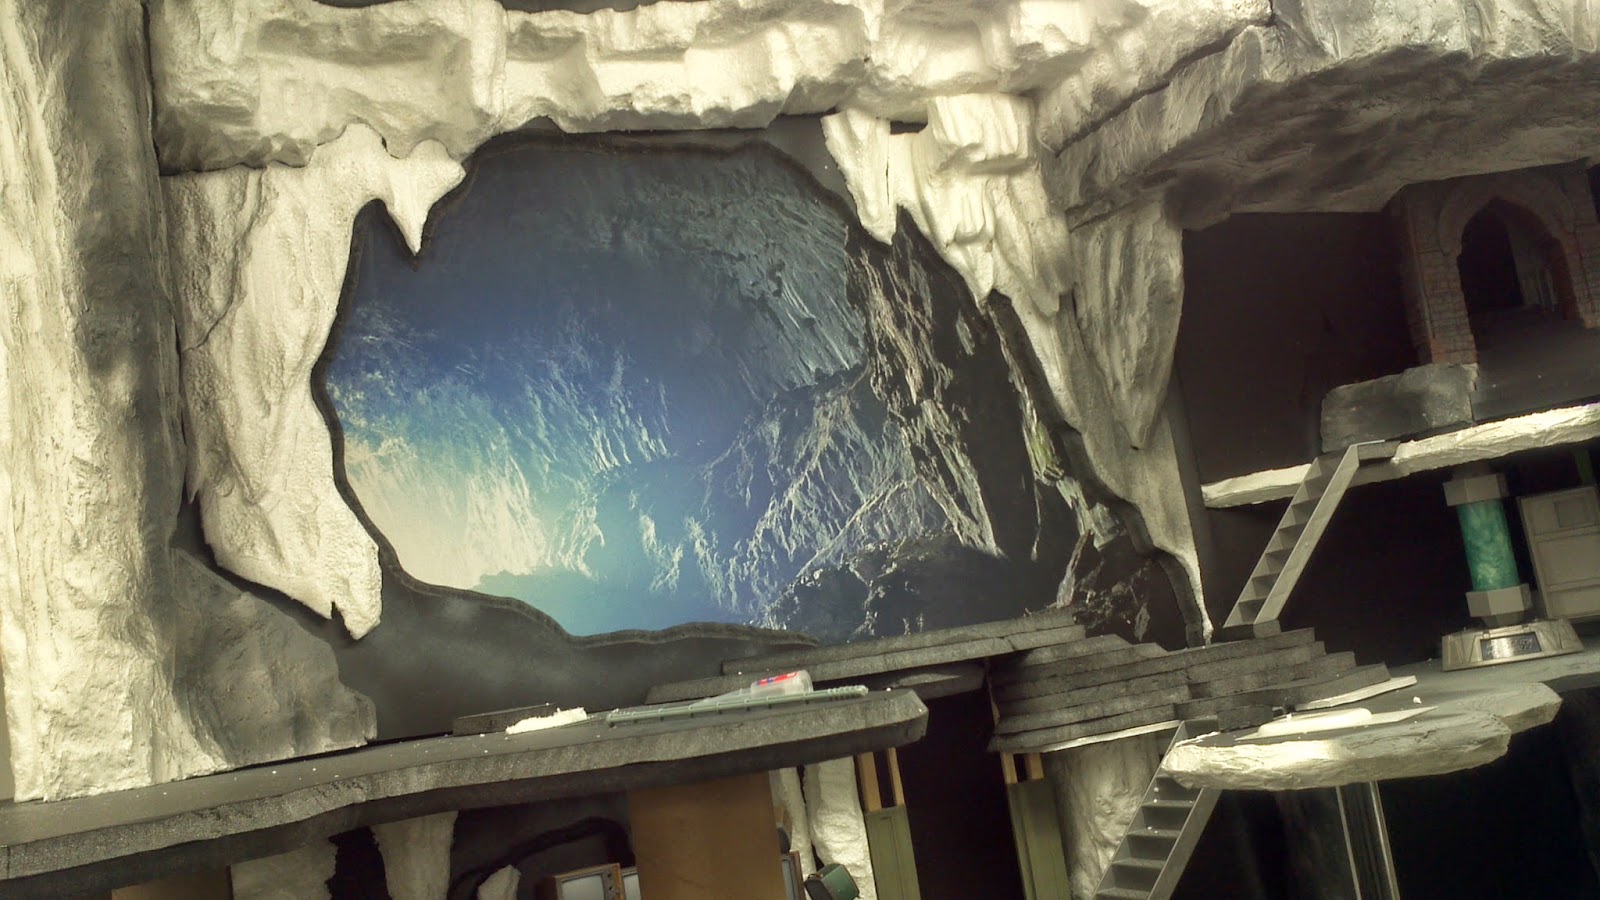
And I'm back. The cave backdrop has plenty of light and gives a plausible means of getting airplanes in and out of the cave. Quick fix, but a callback to some of the best Batcave playsets. ANd sadly, homage was almost all that I could offer those old playsets. I'd planned an elaborate floor-to-ceiling cave that incorporated elements of all the Batcaves ... but alas, they just didn't seem to fit in. The rocks were taking shape and the stacks were proving to be sturdy enough to hold 24 batmobiles.
More rock features are brought out from the wall.
From the computer level. a nice vantage to watch approaching Batplanes. All in all, the backdrop helps add depth to what is already a massive playset. Scale references are coming.
..Stay tuned for Part Five ....


No comments:
Post a Comment